Latest
Pets
Product Reviews
Reviews
Pet Insurance Comparison: Find the Best Plan for Your PetApril 21, 2026
We Value Every Life
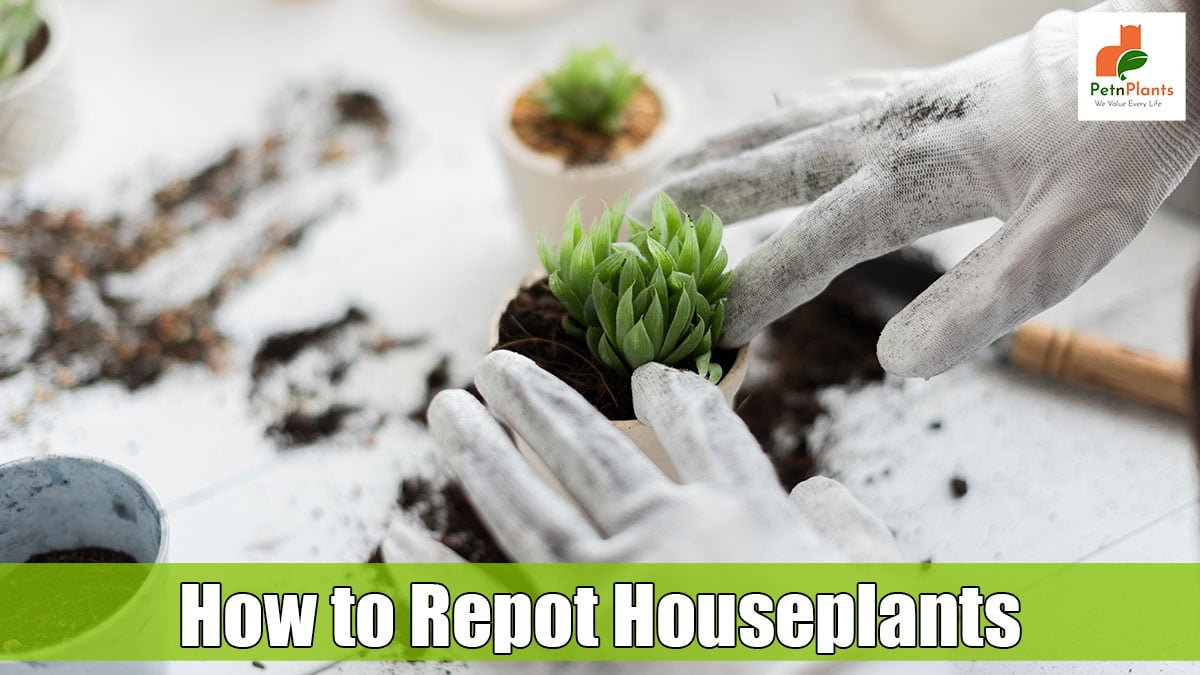
When houseplants outgrow their containers, their root systems may not provide the water and nutrients required to maintain top growth. Plants get stunted as a result of this, and older leaves lose their color and fall off. Repotting house plants into bigger pots is the solution. The repotting is best done during spring when the plant’s roots are most active, helping them swiftly recover from the repotting shock.
Many houseplants need to be repotted into larger containers occasionally to ensure they continue to develop healthily. Repotting plants into bigger pots not only refreshes them but also allows you to alter your decor with trendy pots. It is not as challenging a transfer as you would imagine learning how to repot a plant without killing it in reality.
Repotting is a crucial skill for every gardener (indoors or out), and it needs just modest common sense, confidence, and a little know-how. These tips will assist you in effectively repotting houseplants in winter and other seasons.
A trowel, gloves, scissors, and a sharp, clean knife are required.
Select high-quality repotting house plants compost tailored to your plant’s needs. Cacti, African violets, citrus, orchids, and a variety of other houseplants can benefit from special mixtures. Use an all-purpose houseplant potting mix for general repotting of leafy plants.
Choose pots with drainage holes in the bottom and a diameter no more than 1″–2″ bigger than the existing one.
Do repot inside unless it’s a really hot day. To make cleanup easier, spread out some newspaper or plastic.
Water your plant lightly to let the root ball and soil slip out of the pot more easily.
Remove your plant from its container by carefully turning it on its side, then holding the main stem in one hand while gently pulling the pot away. If necessary, lightly tap the pot on the counter or use a knife or shovel to loosen the soil around the pot’s edges. Take caution not to yank or damage the plant’s main stems!
Begin by checking the roots and soil before shifting your plant to a larger pot. If it is in good condition, try to disturb the soil as little as possible. Shake away part of the excess if it’s rotting or moldy, but remember that removing soil may stress your plant even more. If the roots are tightly coiled, loosen or gently slice them with your fingers or a sharp knife so they may spread out, clipping away any long ends. Trim any rotting or dead roots.
Shake off excess soil before pruning back up to 25% of the roots when repotting in the same container. This will help your plant regenerate while keeping it small enough to fit in the same pot.
To remove disease-causing germs and insect larvae, clean the pot with hot, soapy water. Then allow it to dry.
Keeping gravel in the bottom of the pot is unnecessary if the repotting house plants’ drainage is good. Ensure a little mound of soil in the pot for your plant to make it sit atop. Measure the root ball’s height and ensure it is at least 1/2 inch below the pot’s rim so it does not overflow when watered.
Fill the pot with soil and place the plant inside. Inspect it from all angles, and ensure it’s centered and sitting up properly.
Repotting indoor plants’ soil should be done in layers around the plant. Push it down with your fingers until it is solid. Don’t bury your plant any deeper than it already is.
Water your newly potted plant well until the bottom of the pot is dry. It is an excellent idea to spray or wipe the leaves to eliminate dust and potting soil.
It’s often essential to add a bit of additional soil after watering to fill in low regions in the pot.
Remove any damaged or dead stems or leaves. Lightly trim your plant if necessary to encourage branching.
Repotting will take three to four weeks for your plant to recuperate. During the period,
Potting indoor plants for beginners might be intimidating, but it is necessary for your plants’ general health. Keep this expert advice in mind the next time your plant needs a new home, and you’ll soon see fresh growth. These instructions will undoubtedly give you the confidence to take care of your plants independently. Repotting house plants into bigger pots doesn’t have to be a pain, and it can be one of your favorite springtime rituals.


0